

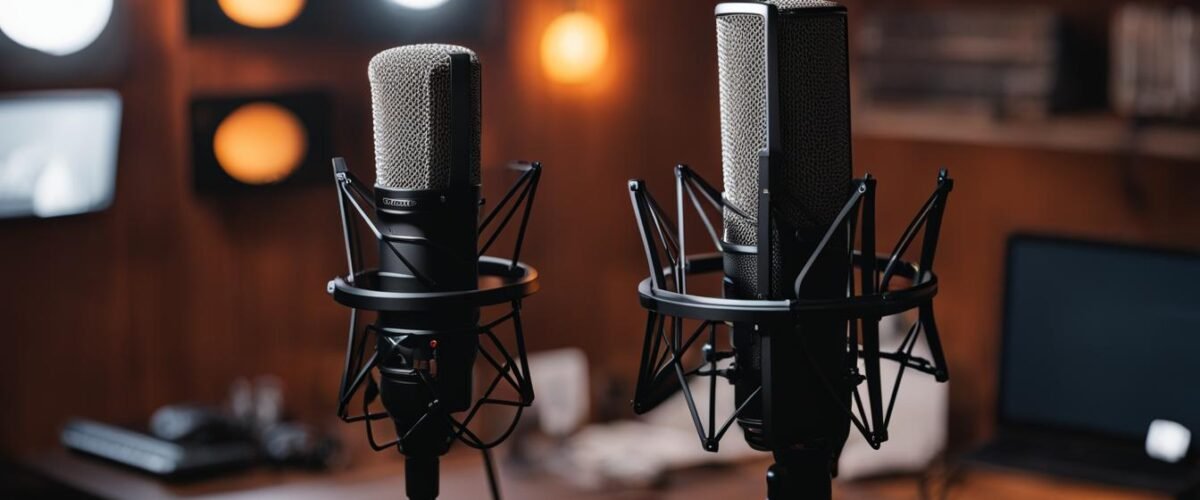
If you’re a streamer, you know the importance of having high-quality audio. A great microphone setup can make all the difference in creating a professional and engaging experience for your audience. Whether you’re just starting or looking to upgrade your current setup, we’ve got you covered with insider tips and guides on achieving the perfect microphone setup for streaming.
Choosing the right microphone, adjusting its settings, and optimizing its placement are all critical factors that can impact the overall sound quality of your streams. We’ll walk you through each step and provide recommendations based on your needs and budget.
Key Takeaways
- Having a high-quality microphone setup is crucial for engaging your audience and creating a professional streaming experience.
- Choosing the right microphone based on your needs and budget is important for achieving the best sound quality.
- Placement, settings, and accessories can all impact the overall performance of your microphone setup.
- Troubleshooting common issues and exploring advanced techniques can help take your microphone setup to the next level.
- Experimenting with different techniques and investing in accessories can help enhance your microphone setup for streaming success.
Understanding the Importance of a Good Microphone Setup
If you’re a streamer, you know that audio quality can make or break your content. A clear and crisp voice can make your streams more engaging and keep your audience coming back for more. This is where the importance of a good microphone setup comes into play.
Having a high-quality microphone is crucial for producing professional-level audio. A good microphone can capture your voice clearly and minimize background noise, resulting in clean and clear sound quality for your audience.
When setting up your streaming microphone, it is essential to consider your unique requirements and the type of content you create. For instance, if you’re streaming gaming content, you would need a directional microphone with a cardioid, super-cardioid, or hyper-cardioid pick-up pattern to focus on your voice while minimizing noise from the game.
On the other hand, if you’re streaming music performances or podcasts, you may need a condenser microphone that captures a broader range of frequencies and provides a more detailed sound.
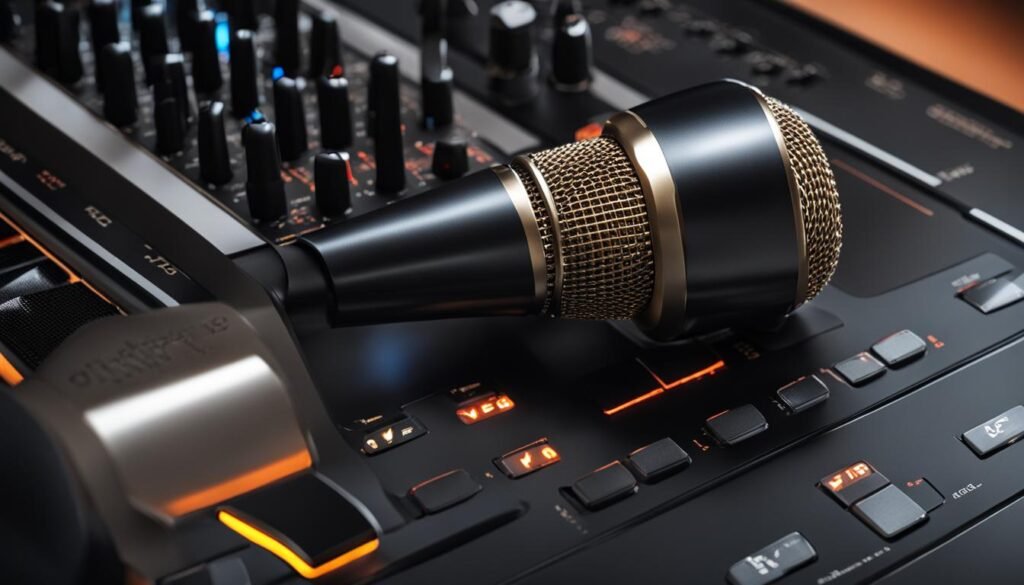
Recommended Microphones for Streaming
There are several microphones specifically designed for streaming that can offer you high-quality sound and excellent value for money. Here are a few of our top recommendations:
| Microphone | Price | Features |
|---|---|---|
| Blue Yeti | $129.99 | Multiple directional options, gain control, mute button |
| Rode NT-USB | $169.00 | High-quality condenser, zero-latency headphone jack |
| Audio-Technica AT2020USB+ | $149.00 | Cardioid polar pattern, built-in headphone jack for monitoring |
While these microphones are some of the most popular for streaming, remember that the right choice depends on your specific needs and preferences.
Regardless of the microphone you choose, with the right setup and proper placement, you can achieve excellent audio quality for your streams.
Next, we’ll dive into how to choose the right microphone for your streaming needs.
Choosing the Right Microphone for Streaming
When it comes to choosing a microphone for streaming, there are several factors to consider, such as budget, intended use, and personal preferences. In this section, we will explore some of the best microphones for streaming and provide recommendations based on their features and performance.
USB Microphones
USB microphones are a popular choice among streamers due to their ease of use and affordability. They connect directly to your computer’s USB port and require no additional equipment or setup. Here are some of the best USB microphones for streaming:
| Microphone | Price | Key Features |
|---|---|---|
| Blue Yeti | $129.99 | Four polar patterns, headphone jack with volume control, mute button, gain control |
| Razer Seiren X | $99.99 | Super cardioid polar pattern, built-in shock mount, mute button, zero-latency monitoring |
| Audio-Technica AT2020USB+ | $149.00 | Cardioid polar pattern, built-in headphone jack, mix control, volume control |
XLR Microphones
XLR microphones offer superior sound quality and versatility, but they require additional equipment, such as an audio interface or mixer, to connect to your computer. Here are some of the best XLR microphones for streaming:
| Microphone | Price | Key Features |
|---|---|---|
| Shure SM7B | $399.00 | Cardioid polar pattern, bass roll-off, mid-range boost, pop filter, shock mount |
| Rode Procaster | $229.00 | Cardioid polar pattern, internal shock mounting, pop filter, high-pass filter |
| Electro-Voice RE20 | $449.00 | Cardioid polar pattern, variable-D technology, bass roll-off, mid-range presence boost |
Overall, the best microphone for streaming depends on your individual needs and budget. USB microphones are a great option for beginners or those on a tight budget, while XLR microphones provide higher quality audio and greater versatility for professionals. Whichever option you choose, make sure it suits your needs and helps you achieve your streaming goals.
Setting Up Your Microphone for Streaming
Now that you have carefully chosen your microphone, it’s time to set it up for streaming Microphone Setup for Streaming. Whether you’re a beginner or a professional, we have got you covered. Follow this microphone setup guide to enhance your streaming experience.
Connecting Your Microphone
The first step is to connect your microphone to your computer. Depending on the type of microphone you have, you may need to use an XLR cable, USB cable, or 3.5mm jack cable. Check the manual of your microphone for specific instructions.
Adjusting Your Microphone Settings
After connecting your microphone, it’s time to adjust its settings. Open your computer’s sound settings and select your microphone as the input device. Ensure that the volume levels are adjusted appropriately. It’s advisable to test your microphone’s sound quality in another application before streaming to make sure it’s working correctly.
Optimizing Your Microphone Placement
Microphone placement is crucial for optimal sound quality. Position your microphone in front of your mouth, but not too close, to avoid popping sounds. If you’re using a condenser microphone, make sure to adjust the polar pattern to match your environment. For example, if you’re in a noisy place, use the cardioid pattern.
If you’re a beginner, a simple desk stand will do just fine. However, if you’re a professional, you might want to invest in a boom arm to allow more flexibility in positioning your microphone. This can minimize noise from keyboard typing or other movement around your workspace.
Optimizing Your Microphone Settings
Optimizing your microphone settings is crucial for achieving excellent sound quality. Adjust the gain to optimize the input volume without causing distortion. If your microphone has an equalizer, adjust it to balance the sound frequencies. If you’re unsure about what settings to use, try using pre-made presets or seek advice from fellow streamers.
With these tips, you can achieve the perfect microphone setup for streaming. Remember, practice makes perfect. Experiment with different techniques to find the optimal setup that suits your needs.
Microphone Placement Techniques
Proper microphone placement is crucial for achieving optimal audio quality during streaming. Your microphone should be positioned to capture your voice clearly while minimizing background noise. Here are some microphone placement techniques to consider:
- Boom Arm: A boom arm is an excellent option for streamers who want flexibility with their microphone placement. It allows you to position the microphone close to your mouth while keeping it out of your field of view. You can clamp the boom arm to your desk or use a stand-alone option.
- Desktop Stand: If you prefer a stationary microphone, a desktop stand is an ideal option. Choose a stand with a weighted base so it stays in place and consider using foam pads beneath the microphone to reduce vibrations.
- Headset Microphone: For gamers or streamers who prefer hands-free options, a headset microphone can provide clear audio while keeping your hands free. Be sure to position the microphone close to your mouth and avoid any contact with your clothing or hair to prevent rustling sounds.
When positioning your microphone, keep in mind the directionality of the microphone. Some microphones only capture audio from one direction, while others can capture audio from multiple directions.
| Microphone Type | Directionality |
|---|---|
| Cardioid | Picks up sound from the front and rejects sound from the sides and rear. |
| Bi-Directional | Picks up sound from the front and back while rejecting sound from the sides. |
| Omnidirectional | Picks up sound from all directions. |
For example, a cardioid microphone should be positioned with the front of the microphone facing towards you to capture your voice while rejecting background noise.
Tweaking Your Microphone Settings
Adjusting your microphone settings can improve the overall sound quality of your streams. However, it’s essential to strike a balance between clarity and volume to avoid any distortion that may ruin your viewers’ listening experience. In this section, we will go over some key microphone settings for streaming that you can adjust to enhance audio quality.
Gain Control
Gain controls the sensitivity of your microphone and measures the amount of input sound needed to produce a specified output level. Although it can amplify the sound, too much gain can lead to distortion, while too little gain can make your voice sound weak and underpowered.
The ideal gain level should allow for a healthy signal flow without peaking. To adjust the gain control, open your microphone settings and increase or decrease the gain levels until you find a balance that suits your voice and streaming requirements.
Volume Levels
Volume levels refer to the loudness of your microphone’s output. It is crucial to balance your microphone’s volume with other sounds in your stream, such as game audio or music.
Ideally, your microphone volume levels should be set to match the average loudness of your stream’s other audio sources. If you find that your microphone is too loud or too quiet, adjust its volume levels in your streaming software.
Equalization (EQ)
Equalization is the process of adjusting the balance between frequency components within an audio signal. By altering the gain of specific frequency ranges, you can enhance or reduce their prominence in the overall sound.
Most streaming software provides built-in EQ settings that you can use to adjust your microphone’s sound. Some common EQ settings include boosting the low-end to add warmth and depth to your voice or reducing high frequencies to minimize background noise. Experiment with different EQ settings to find the ideal balance for your microphone.
Noise Gates
Noise gates are processors that allow sound to pass through only when it exceeds a particular threshold. By using a noise gate, you can eliminate background noise that may detract from your stream’s overall quality and make your voice sound cleaner.
Most streaming software provides a built-in noise gate that you can activate to remove distracting sounds. However, make sure not to set the noise gate too high, as it may cut off parts of your speech, leading to an unnatural and robotic sound.
Remember, your microphone settings play a crucial role in determining the overall sound quality of your streams. However, don’t be afraid to experiment with different settings to find what works best for you and your stream.
Enhancing Audio with Accessories
Investing in accessories can take your microphone setup for streaming to the next level. Here are some recommended accessories to enhance your audio quality:
| Accessory | Description |
|---|---|
| Pop Filter | A pop filter helps to reduce popping sounds that occur due to hard consonant sounds. It is placed between the microphone and your mouth. |
| Shock Mount | A shock mount helps to reduce vibrations and unwanted noise that occur due to movement or handling of the microphone. It is usually placed on the microphone stand. |
| Microphone Stand | A microphone stand helps to hold your microphone in the right position during streaming. It should be adjustable and sturdy to prevent any accidental movements. |
With these accessories, you can significantly improve your audio quality and provide a more professional streaming experience for your audience.
Note: Make sure to select accessories that are compatible with your microphone and provide the necessary features to achieve your desired sound quality.
Troubleshooting Common Microphone Issues
Technical issues can be frustrating when streaming, and it’s essential to know how to troubleshoot them to avoid interruptions during your streaming sessions. In this section, we will go over some common microphone setup issues and solutions to fix them.
Issue: Background Noise
Background noise can be distracting for your audience and can significantly impact the quality of your stream. If your microphone is picking up unwanted noise, try the following solutions:
| Solution | Description |
|---|---|
| Noise Reduction | Many microphones come with noise reduction features that can help you reduce unwanted background noise. Check your microphone’s settings to see if this feature is available and how to turn it on. |
| Microphone Placement | Experiment with different microphone placements to find the location that captures your voice but minimizes background noise. Consider using a microphone stand or shock mount to isolate the microphone from vibrations. |
| Acoustic Treatment | Using soundproofing materials like acoustic foam can reduce echo and sound reflection, providing a more controlled environment for your microphone. |
Issue: Low Volume
If your microphone volume is too low, your audience may struggle to hear you, especially if they have background noise. Here are some solutions to increase the volume:
- Check your microphone’s volume settings and adjust them to increase the volume.
- Use a microphone preamp to boost the signal before it reaches your computer.
- Move the microphone closer to your mouth, but avoid getting too close to prevent distortion.
Issue: Echo
Echo is a common issue in less acoustically treated rooms, and it can be distracting for your audience. Try these solutions to fix an echo:
- Move the microphone away from reflective surfaces like walls and windows.
- Use sound-absorbing materials like acoustic foam or thick curtains to minimize sound reflection.
- Use headphones to monitor your audio and avoid sound bleeding from your speakers into the microphone.
These are just a few of the common issues you may face when setting up your microphone for streaming. By following these troubleshooting tips, you can avoid interruptions and keep your streaming sessions running smoothly.
Advanced Techniques for Professional Microphone Setup for Streaming
If you are looking for ways to take your microphone setup to the next level, here are some advanced techniques used by professional streamers:
Acoustical Treatments
Acoustical treatments can significantly improve the sound quality of your microphone setup. By controlling the reflections and echoes in your streaming space, you can minimize unwanted background noise and achieve a cleaner sound.
You can use materials like acoustic panels, diffusers, and bass traps to treat your streaming room. Acoustic panels are effective in absorbing mid and high-frequency sounds, while bass traps are useful in reducing low-frequency sounds. Diffusers can scatter sound and create a more natural-sounding space.
Utilizing acoustical treatments can be a game-changer in creating an optimal recording environment.
Multi-Microphone Setups
Professional streamers often use multiple microphones to capture different sounds and create a more immersive experience for their audience.
For example, you can use a separate microphone for your voice, game audio, and music. This allows you to adjust the levels and EQ for each source independently and create a more balanced mix for your stream.
Another example is using a “room mic” to capture the ambiance of your streaming environment, such as the sounds of the keyboard or mouse clicks.
Just remember that using multiple microphones can be more complex to set up and requires more hardware and software to manage. However, the payoff can be worth it if you want to create a more refined and professional stream.
Using Virtual Mixers
Virtual mixers are software tools that allow you to control and adjust the levels of your microphones and audio sources in real-time. Think of them as digital soundboards that give you the flexibility to fine-tune your audio and create a custom mix for your stream.
Virtual mixers like VoiceMeeter and OBS are popular choices among streamers. They offer features like EQ, compression, and noise suppression filters to enhance your audio quality and reduce unwanted noise.
Experimenting with Different Microphone Types
Finally, don’t be afraid to experiment with different microphone types to find the perfect fit for your voice and streaming style.
Some popular options include dynamic microphones like the Shure SM7B or condenser microphones like the Audio-Technica AT4053b. Each type has its distinctive sound characteristics, so it’s important to choose one that complements your voice and stream.
Also, different microphones have different polar patterns that affect how they pick up sound. For example, cardioid microphones capture sound from the front and reject sound from other directions, while omnidirectional microphones capture sound from all around.
By experimenting with different microphone types and polar patterns, you can find the one that best suits your unique streaming needs.
Conclusion
In conclusion, setting up a microphone for streaming is crucial for delivering high-quality audio to your audience. By following the tips and guides we have provided in this article, you can achieve the perfect microphone setup for streaming. Remember to choose the right microphone that caters to your needs, position it correctly, and optimize its settings for the best performance.
Experiment with different microphone placement techniques and don’t hesitate to invest in accessories like pop filters, shock mounts, and microphone stands to enhance your microphone setup. If you face any technical issues with your microphone, refer to our troubleshooting guide.
For those seeking professional-grade sound quality, explore advanced techniques like acoustical treatments and multi-microphone setups. Don’t forget to practice and refine your microphone setup for streaming, as it can significantly impact the overall quality of your streams.
Thank you for reading our guide on the perfect microphone setup for streaming. We hope it has provided you with valuable insights and tips to enhance your streaming experience. Happy streaming!
FAQ
How important is a good microphone setup for streaming?
A good microphone setup is crucial for streaming as it directly impacts the quality of your audio. Clear and professional sound enhances the overall streaming experience and captivates your audience.
Can you recommend a microphone for streaming?
There are several great microphones suitable for streaming, depending on your budget and needs. Some popular options include the Blue Yeti, Audio-Technica AT2020, and Rode NT-USB.
How do I set up my microphone for streaming?
To set up your microphone for streaming, you’ll need to connect it to your computer, adjust its settings, and optimize it for streaming software. We have a step-by-step guide in Section 4 that will walk you through the process.
Where should I place my microphone for the best sound quality?
The placement of your microphone is important to capture your voice effectively and minimize background noise. In Section 5, we discuss different microphone placement techniques and provide tips to find the ideal position for optimal sound quality.
How can I enhance my microphone setup with accessories?
Accessories such as pop filters, shock mounts, and microphone stands can improve audio quality and provide a more professional streaming experience. Section 7 explores various accessories and their benefits.
What should I do if I encounter issues with my microphone setup?
In Section 8, we troubleshoot common microphone issues faced by streamers and provide solutions to help you overcome these challenges. If you’re experiencing technical glitches, this section will be helpful.
Are there advanced techniques for microphone setup?
Yes, Section 9 delves into advanced techniques used by professionals in the streaming industry. If you’re looking to take your microphone setup to the next level and achieve studio-quality sound, this section is for you.